
To test your fume hood’s face velocity without a full safety team, use a handheld anemometer or velometer. Place the device at the hood’s sash opening and take multiple readings across the surface. guarantee the airflow is between 80-120 ft/min for safety. If readings are outside this range, adjust the sash height or check for blockages. Continuing below, you’ll discover how to perform these tests confidently and maintain a safe lab environment.
Key Takeaways
- Use a handheld anemometer or velometer to measure airflow at the sash opening.
- Take multiple readings across different points of the hood for accuracy.
- Record all measurements and compare them to the recommended 80-120 ft/min range.
- Adjust sash height if readings fall outside the safe range, ensuring proper airflow.
- Follow institutional guidelines and report any deviations for maintenance or safety review.
Have you ever wondered how safety is maintained inside a laboratory when working with hazardous fumes? Ensuring a safe environment relies heavily on proper airflow measurement and strict safety protocols. The fume hood is your primary line of defense, designed to contain and exhaust harmful vapors. To keep it functioning correctly, you need to verify that the face velocity — the speed of air moving into the hood — remains within safe limits. But what if you don’t have a full safety team available for regular testing? Fortunately, there are straightforward ways to test the face velocity yourself, ensuring ongoing safety without specialized personnel.
First, understanding the importance of airflow measurement is crucial. When you measure face velocity, you’re essentially checking that the air is flowing into the hood at the correct rate to prevent fumes from escaping into the lab environment. The recommended face velocity typically falls between 80 and 120 feet per minute. If the airflow is too low, fumes might leak, risking exposure; too high, and it could cause turbulence or discomfort. Regular testing helps catch these issues early, maintaining compliance with safety protocols. Additionally, understanding the thermal behavior of airflow can help you identify issues related to temperature fluctuations that may affect hood performance.
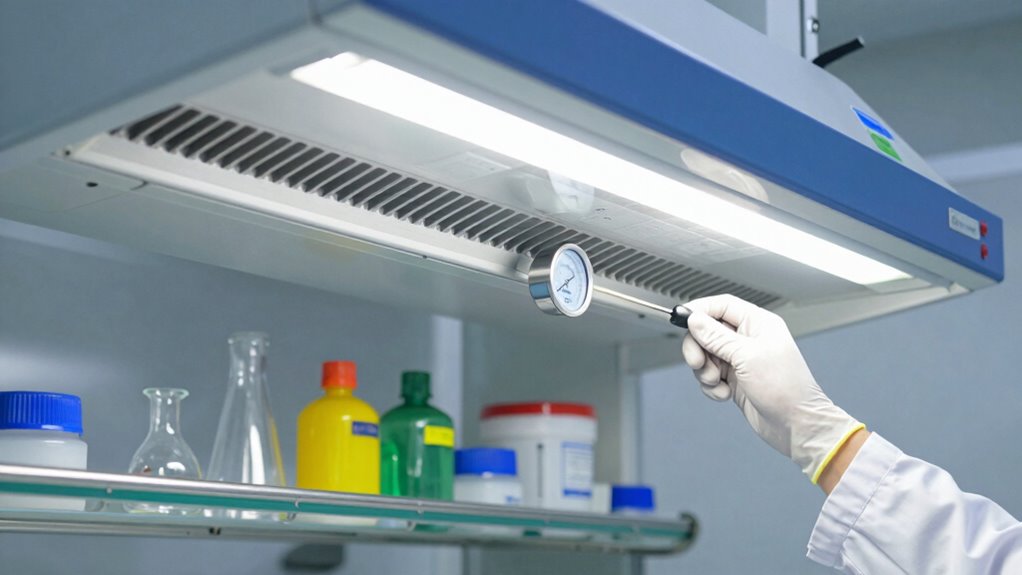
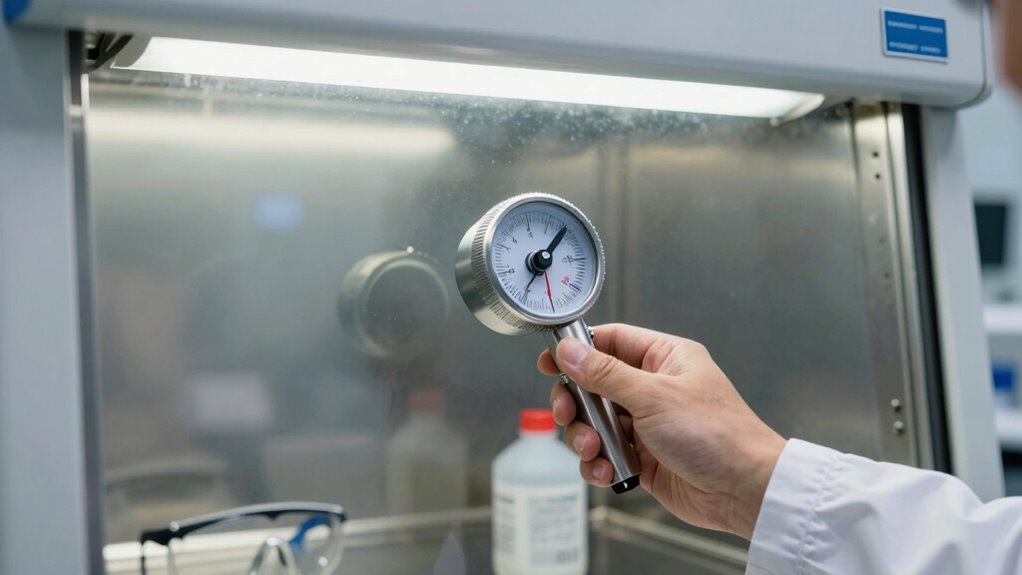
To test the face velocity without professional equipment, you can use a simple velometer or an anemometer. These handheld devices are affordable and easy to operate. Start by placing the anemometer at the face opening of the fume hood, positioning it at multiple points across the sash opening. Record the readings at each point to ensure consistent airflow. If the readings fall outside the recommended range, you may need to adjust the sash height or check for blockages or leaks in the system. Remember, safety protocols often specify the exact procedures for testing, so always follow your institution’s guidelines.
Performing these tests regularly becomes a key part of your safety routine. You should do it before starting work each day or whenever the sash position changes significantly. Keep a log of your readings, noting any deviations. If you detect low airflow, don’t ignore it—report it immediately to your safety team or maintenance personnel. In the meantime, avoid working with hazardous materials until the issue is resolved. Proper thermal management within the hood ensures optimal airflow and safety.
Frequently Asked Questions
Can I Test Face Velocity With a Standard Anemometer?
Yes, you can test face velocity with a standard anemometer. Use it to measure airflow at the hood opening, guaranteeing consistent readings. Remember to follow proper calibration techniques before testing to guarantee accuracy. Hold the anemometer steady and at the correct distance, typically aligned with the face opening, for precise airflow measurement. Regular calibration helps maintain reliable results, making your testing effective without needing a full safety team.
How Often Should Face Velocity Be Tested?
You should test the face velocity at least annually to make certain compliance standards are met. Regular testing helps identify any deviations that could compromise safety. Depending on your work environment or local regulations, more frequent checks might be necessary, especially if you notice performance issues or changes in hood conditions. Staying consistent with testing frequency maintains safe lab practices and ensures your fume hoods operate effectively.
What Are the Safety Risks of Incorrect Testing?
Did you know that improper testing of face velocity can increase lab accidents by up to 40%? If you don’t follow correct calibration procedures, you risk exposing yourself to hazardous fumes or vapors, compromising laboratory safety. Incorrect testing can lead to inaccurate measurements, making the hood ineffective. This puts you and others at risk of inhalation injuries or chemical exposure, emphasizing the importance of proper testing and calibration for a safe working environment.
Are There DIY Methods to Calibrate the Fume Hood?
You can try DIY calibration of your fume hood using an anemometer, but be cautious about its accuracy. To do this, place the anemometer at the hood’s face, record the velocity, and compare it with manufacturer guidelines. Keep in mind, DIY methods may not guarantee perfect calibration due to potential anemometer inaccuracies. For safety and precision, professional calibration is always recommended whenever possible.
What Is the Acceptable Face Velocity Range?
Think of your fume hood’s face velocity as a steady heartbeat—ideally between 80 to 120 feet per minute, aligning with face velocity standards. During testing protocols, aim for that range to guarantee safety without causing turbulence. If you notice velocities outside this window, it’s time to adjust. Keeping within this range safeguards your work environment and ensures effective containment, much like a well-tuned engine runs smoothly.
Conclusion
Testing your fume hood’s face velocity without a full safety team might seem intimidating, but it’s simpler than you think. While professional assessments offer precision, basic tools and careful steps can give you a reliable check, saving time and resources. Think of it like balancing safety with practicality—you don’t need to be a scientist to keep your workspace secure. With a little effort, you can confidently guarantee your fume hood functions properly, blending safety with independence.